Install what
your next step needs.
Codex does not bundle the engine, Python environment, or local authoring server. The browser sample needs none of those; running Studio needs Git and Node. The full fresh-Windows guide is in the repository.
Git + Node.js
Install Git and Node 24.x for the tested major version. npm is included with Node. Reopen your terminal, then check git, node, and npm versions.
Git downloads ↗ · Node downloads ↗Visual Studio Code
Open the cloned folder with File → Open Folder or
code .. Edit the project’s JavaScript,
TypeScript, Python and JSON.
uv + Python 3.12
Install uv and uvx from the official guide, then run
uv python install 3.12. You don’t need a separate
system Python installation.
Blender + Cocos Creator
The local render was tested with Blender 5.2.3 LTS. Import the Cocos examples using Creator 3.8.8, installed through Cocos Dashboard.
Blender ↗ · Cocos setup ↗
On Windows, try npm.cmd or npx.cmd if
PowerShell blocks the matching .ps1 script. No
execution-policy change is needed. If a command is missing,
reopen the terminal after installation and check its PATH
integration.
Your first
editable workspace.
git clone https://github.com/Adnen-Ben-Abdelaali/ai-games-studio.git
cd ai-games-studio
npm ci
npm run demo
npm start
Open http://127.0.0.1:4780. Choose My projects →
Harvest Tunisia — open sample. Keep the server terminal running.
The sample seeder preserves existing project edits.
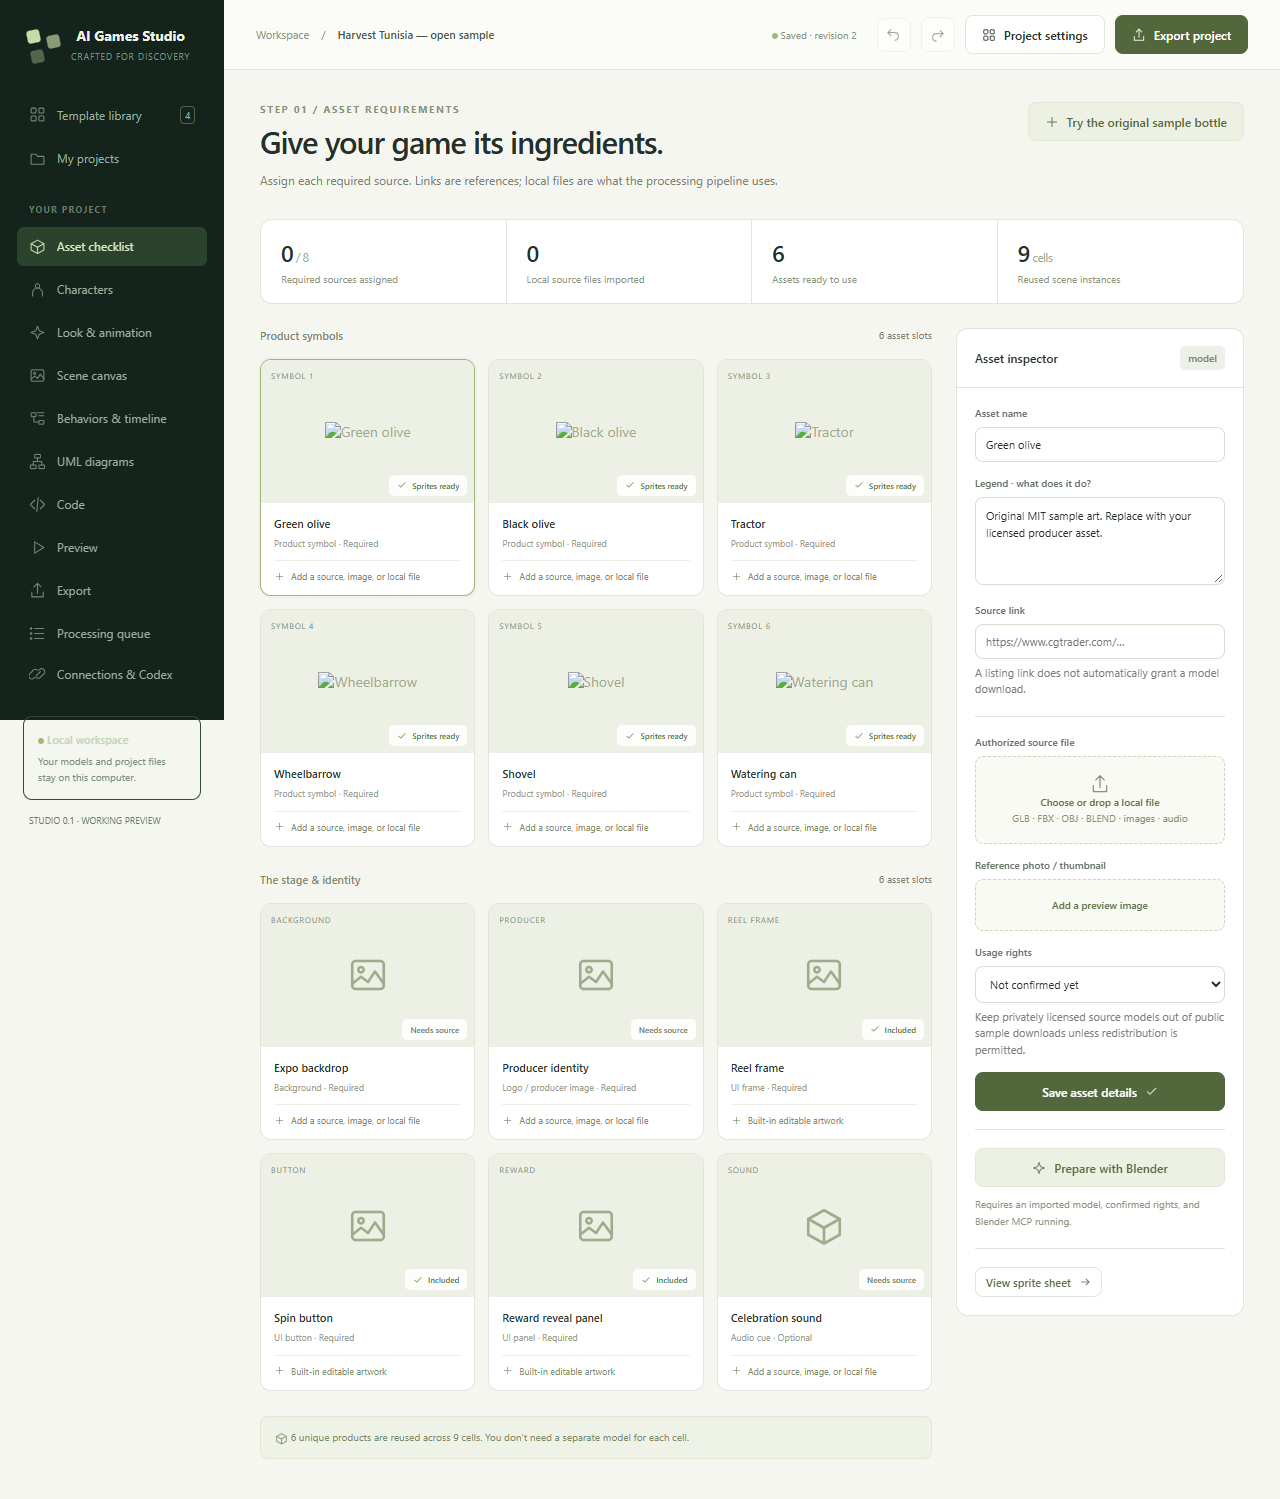
Project data is saved in ignored .studio-data/. Back
up that whole folder separately. The public website you’re reading
and the local Studio are different: keep the authoring server
local rather than exposing its unauthenticated editing API on a
public domain.
A bridge to the tool.
Not another copy of it.
Keep Studio running. With the Codex CLI and uv installed, register the local bridge using your clone’s actual absolute path:
codex mcp add ai-games-studio -- uv run --python 3.12 --with "mcp==1.30.0" python /absolute/path/to/ai-games-studio/tools/studio_mcp.pyIf you only have the desktop app, append the required server entry from the example TOML to your existing Codex config after replacing its executable/script paths. Reconnect the client. Do not replace your whole configuration file.
Ask Codex: “Use the ai-games-studio MCP to read harvest-open-sample and its current revision. Change only the first glow to 1.5 seconds, preserving IDs. Read it back and confirm the saved value.”
The bridge has 12 typed tools. Reads and writes use the Studio API; successful writes notify the open interface. There is no embedded Codex chat in the Studio itself. For client details, use the official Codex MCP guide.
Change the diagram.
Check the code.
Behavior cards, six diagram projections and the supported
studioBehavior TypeScript literal share one saved
model. Codex can update that model through the same
revision-checked API.
| You edit… | Then… |
|---|---|
| A behavior card | Save it; the linked diagram and Code view show the saved values. |
| A diagram action | Change its duration/value and select Update diagram & code. |
| The supported Code literal | Select Apply code; valid data updates the model and diagrams. |
| A behavior file in VS Code |
Paste it into Studio and Apply, or ask Codex to apply it
through update_behavior_code.
|
| Custom Cocos/HTML5 source | Review, test and rebuild it separately. It is not automatically converted into UML. |
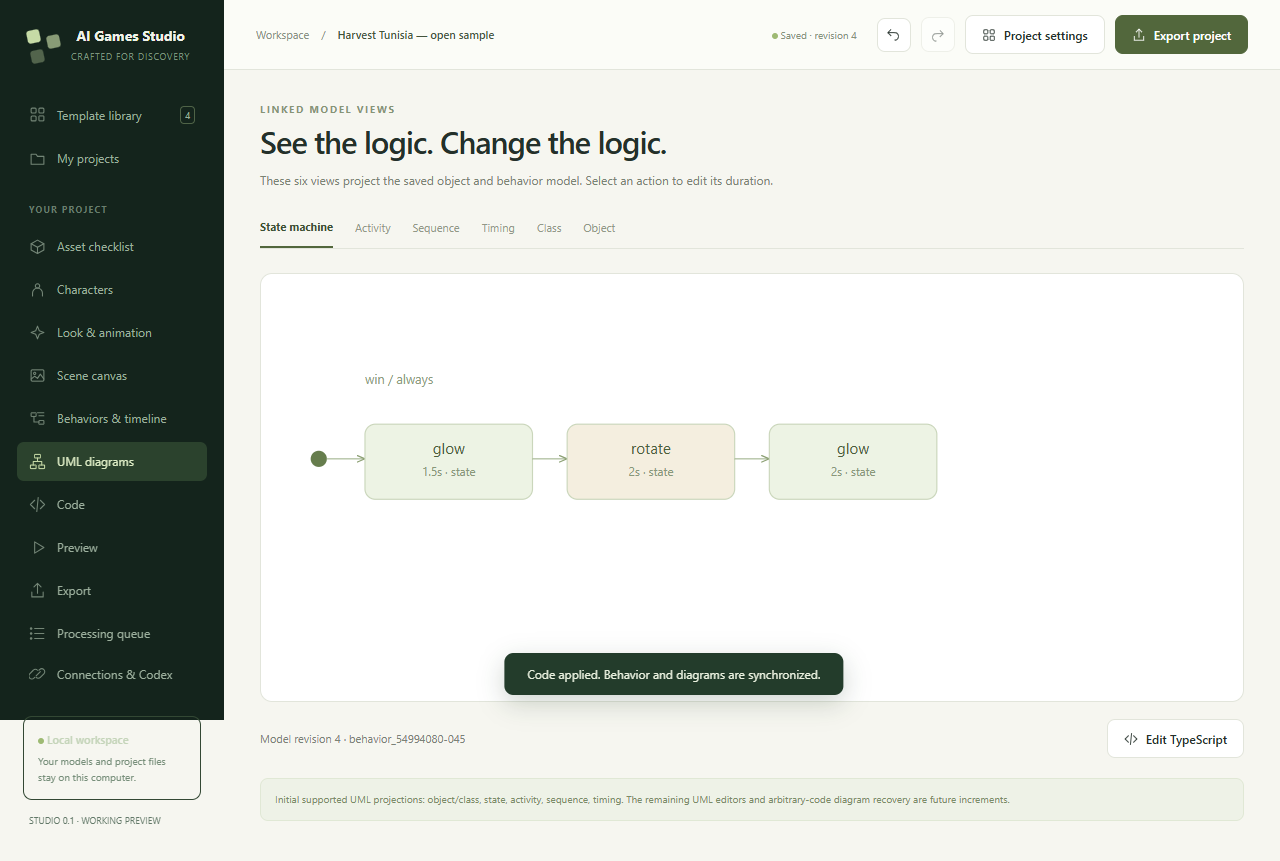
State, Activity, Sequence and Timing views expose supported action-step edits. Class and Object views are simplified ownership projections. This is not a general UML editor. Saving an arbitrary VS Code file does not trigger diagram reconstruction; existing exports are snapshots and need regeneration after model edits.
Read all four editing routes in the README ↗Keep the dimension.
Bake the work.
- Install and open Blender. Use the pinned bridge/addon installation in the repository’s MCP guide.
- Enable MCP for Blender and start its local server, normally on port 9876.
- In Studio, create a project and import the included original sample bottle OBJ or a licensed model. Set its rights status.
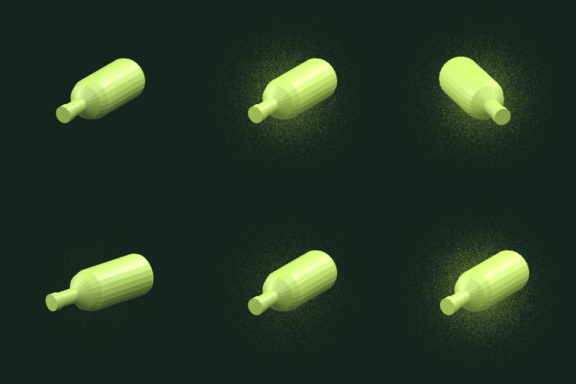
- Choose glow-turn-glow, 192-pixel frames, 24 frames and 8 fps. Save the look settings, then select Prepare with Blender.
- Inspect the job log, transparent PNG frames, atlas, GIF preview and saved Blender scene.
Studio jobs use GLB, FBX, OBJ or BLEND. Use a self-contained GLB or packed BLEND for textured products. CGTrader/Mixamo acquisition and skeletal retargeting are manual or future work, not hidden automatic steps.
Open the scene.
Own the next iteration.
- Install Creator 3.8.8 through Cocos Dashboard.
-
Import
examples/cocos-native, wait for initial imports, and openassets/StudioGame.scene. - Edit its serialized objects in the hierarchy or its TypeScript in VS Code. Cocos generates its temporary TypeScript configuration on first import.
- Preview the game, then choose Project → Build → Web Mobile or Web Desktop.
- Serve the build over HTTP and test on the actual target device.
The separately generated Cocos scaffold creates UI at runtime. Manual native-scene edits are not automatically reverse-engineered into Studio’s canvas. The repository documents this distinction and remaining fresh-machine/device checks.
For a simple HTML5 template change, run
npm run export:demo to refresh the existing public
sample, then serve it over HTTP. See the
worked How to play tutorial for a
complete example.